The Funky Junk Guide to Immersive Audio
To start our look at microphone preamplifiers (Mic-Pres), it’s worth reminding ourselves of the basics before we get into the multitudes of contenders for your hard-earned cash. A good performance, in a suitable acoustic space, captured by an appropriate and well-placed microphone has to take priority. If that is not achieved in the first place, no matter how much cash you drop on an esoteric mic-pre; the end results may disappoint. So, now we’ve got that out of the way and working on the basis that you’re going to tick all those boxes, let’s look at the considerations and options in more detail.
Purpose & Performance Factors
The purpose of a mic-pre is to amplify the relatively low voltage signal coming from your microphone to a higher voltage line level signal to adequately feed the rest of your recording chain (whether that’s outboard, console or converter). Assuming performance and positioning are as they should be, how accurately or “pleasingly” it does this depends on 3 broad factors:
- The way it interacts with the microphone (impedance and gain staging)
- The design characteristics & quality of the mic-pre (transformer-less/transformer balanced/tube/transistor etc etc)
- The way it interacts with the rest of the tracking chain (does it “play well” with your compressor/console/converter etc)
Impedance & Location of Mic & Pre
Avoiding a technical white paper; what do you really need to know? For the purposes of this article, impedance is a degree of resistance one audio device presents to another when a signal is passed between them. Microphones are designed to have low (200 Ohm or below) output impedances so they lose as little power as possible on their journey down a cable and Mic-Pres are designed to have high impedance inputs to prevent artefacts flowing into the mic signal as they boost. A Mic-Pre’s input impedance typically ranges between 5 (recommended minimum) to 10 times the output impedance of a typical microphone so, 1,000-2,000 Ohms. Providing those cases are true of your mic and mic pre then you have nothing more to worry about in terms of impedance……..unless you’re working with long cable runs between the two.
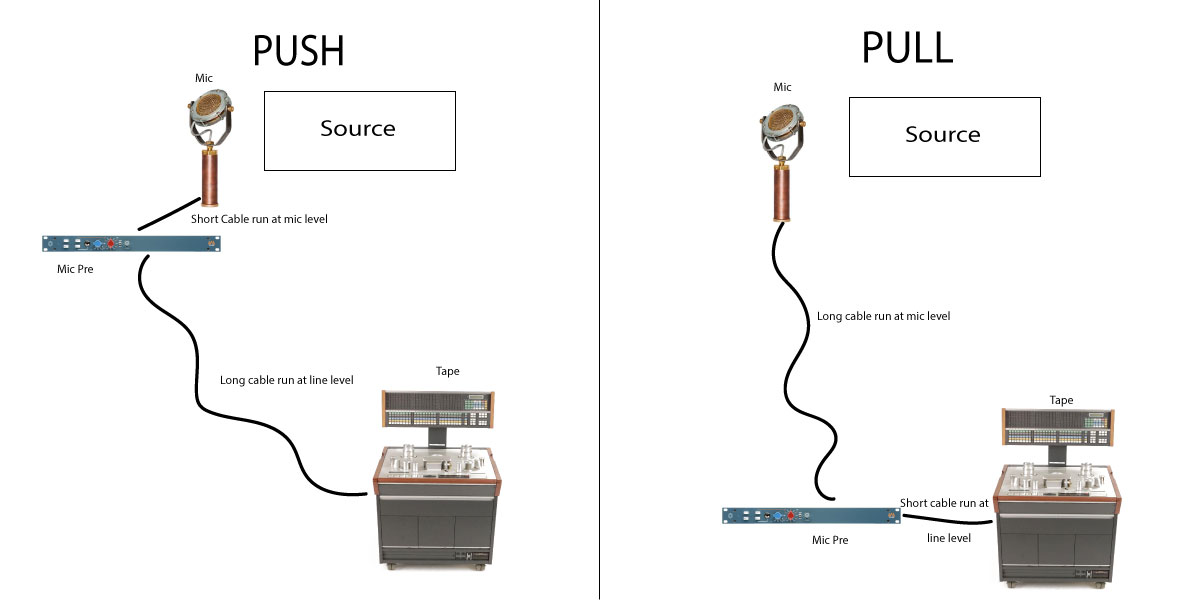
If you’re working in large studios or live venues, where cable runs can be comparatively long (70m+), microphone signals can significantly degrade as they journey down these cables to a preamp. This can result in audibly lower output, loss of High/Low Frequency or distortion. Whilst increasing the gain on your preamp can cater for the lower output it will also impact the signal to noise ratio (more hiss). If you’ve lost high/low frequency from the source you can’t add it back in with eq, you can only boost the frequencies that are there, and as for how you remove distortion; well that’s not exactly a straightforward task so why overcomplicate things? Rather than “pull” a low-level signal along a long cable run to the preamp, amplify near the source and “push” it down the cable run. There are a few ways you can do this:

- Position your mic-pre closer to the microphone on a short cable, then drive the signal down the long output cable to the control area (Pros– simple to rig up and no extra gear required, Cons – you will need an assistant to adjust settings on the mic-pre as it is now located in the live area rather than the control room)
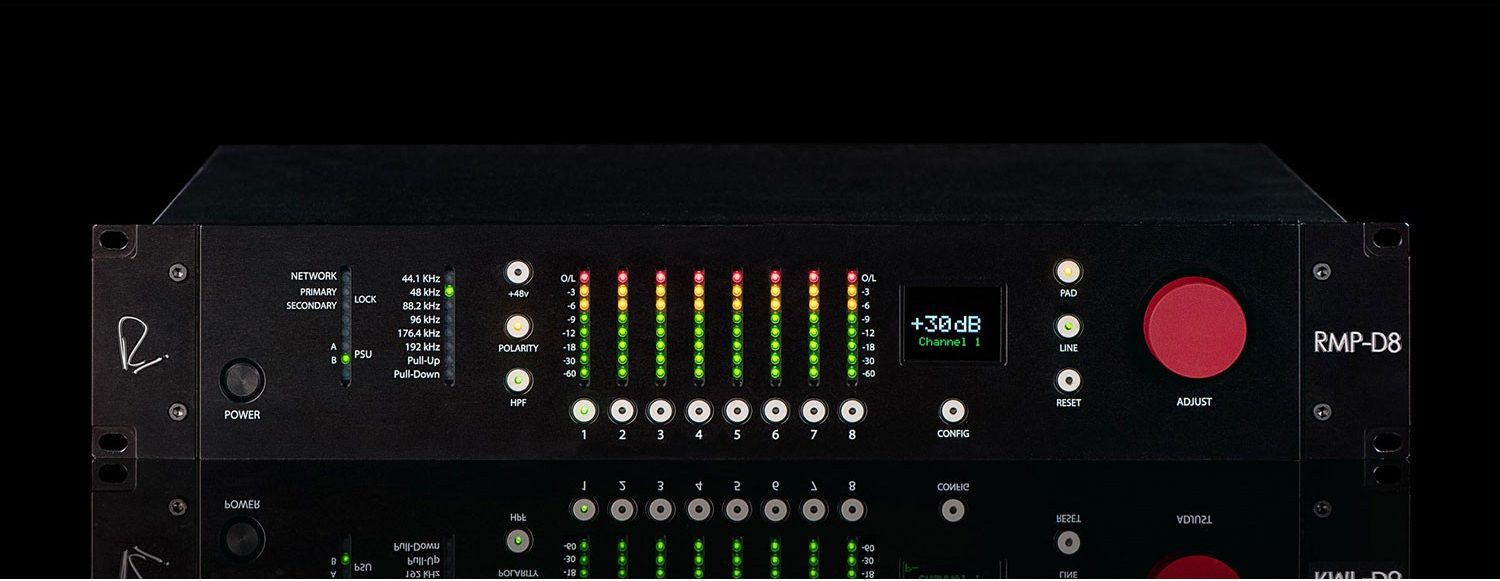
- Choose a remote-control mic-pre which you can place as above but with the added advantage that you can adjust levels from the control area. This is particularly handy on high channel counts as it reduces set up time (Pros– quicker set up, smaller team Cons – cost of a remote-control mic-pre is usually higher than its manual counterpart)

Gain Staging & Signal Boosters
Gain staging is the way in which levels are set between different devices along the whole recording chain. Correct gain staging gets the required amount of a source signal down this chain with minimal unwanted noise/artefacts and without overloading any part of it.
A skilled vocalist will lean into a mic during quiet parts and back from the mic during loud parts of a performance; allowing the mic to capture the maximum amount of the vocal whilst minimising amounts of background noise, distortion etc. But, that will still present a significantly dynamic signal to the mic-pre; the loudness of the source, it’s distance from the microphone and the sensitivity of that microphone to the source and its surroundings all impact the amount of gain a pre-amp needs to deliver to correctly gain stage the signal.
Not all mics are equal in this respect either; condensor microphones typically have a higher output than their dynamic and ribbon counterparts. They are more “sensitive” and therefore require less gain makeup from a mic-pre if positioned identically to dynamic or ribbon mics. So, there’s 2 things to consider regarding Gain Staging when selecting a mic-pre:
- Available Gain Range (is there enough to gain stage the signal from the mic correctly and does the mic-pre’s output gain range allow you to interface with the next device in the change optimally?)
- Signal to Noise Ratio (does the mic-pre circuitry introduce significant additional noise to the signal, particularly on high input gain settings?)
How much is enough gain? A rough rule of thumb I use is 40, 60, 80db. With 40db of gain being a workable maximum figure for closely positioned microphones on typical rock/pop sources, 60db for less closely positioned microphones on the same and up to 80db for distantly positioned microphones on dynamic sources such as an orchestra or when using older ribbon microphones. There may also be times when recording with multiple microphones, say a singer/acoustic guitarist with a condenser and ribbon mic combination, where you may want to use significant gain on one of the sources to make it dominant enough to reduce bleed through from the other on recording. Most modern mic-pre’s, whether outboard or console, offer around 60db of input gain. Fewer offer 80db which may be required in the orchestral example I mentioned above. Mic-Pre’s offering 70-80db input gain also tend to be significantly more expensive than their 60db counterparts as they require a more bespoke design and component selection. Examples include BAE’s 1073 & 1084 models (80db), GMLs 8302 & 8304 models (70db), AMS Neve’s 4081 (+70db) & Rupert Neve Design’s 5024 (+72db).

Signal to Noise Ratio is additive across the whole recording chain – but the weakest link will by far and away be the most dominant. The introduction of a mic-pre with poor signal to noise ratio at typical gain settings will result in artefacts –most commonly audible background hiss when employing high gain. With digital recording being the most common format employed today, this noise will be more noticeable when recording a dynamic performance due to the 110db+ clean dynamic range digital can present to a listener. To cater for this, the overwhelming majority of modern mic-pre’s have high signal to low noise ratios. If you’re using vintage (or modern recreations of vintage) high gain mic pres there’s a few things to check – if your vintage unit isn’t performing to spec on Signal to Noise has it been recap’d or serviced recently? If not, it could be just a matter of getting that done. If it’s a new, modern recreation of a vintage design check the signal to noise ratio on the manufacturer’s specifications – with 110db+ of digital dynamic range to play with, how much gap is there from the level of your quietest recorded signal to the signal to noise ratio of the mic-pre? The wider the gap the better as unwanted noise will be less dominant in the recording. This is particularly true in orchestral recordings.
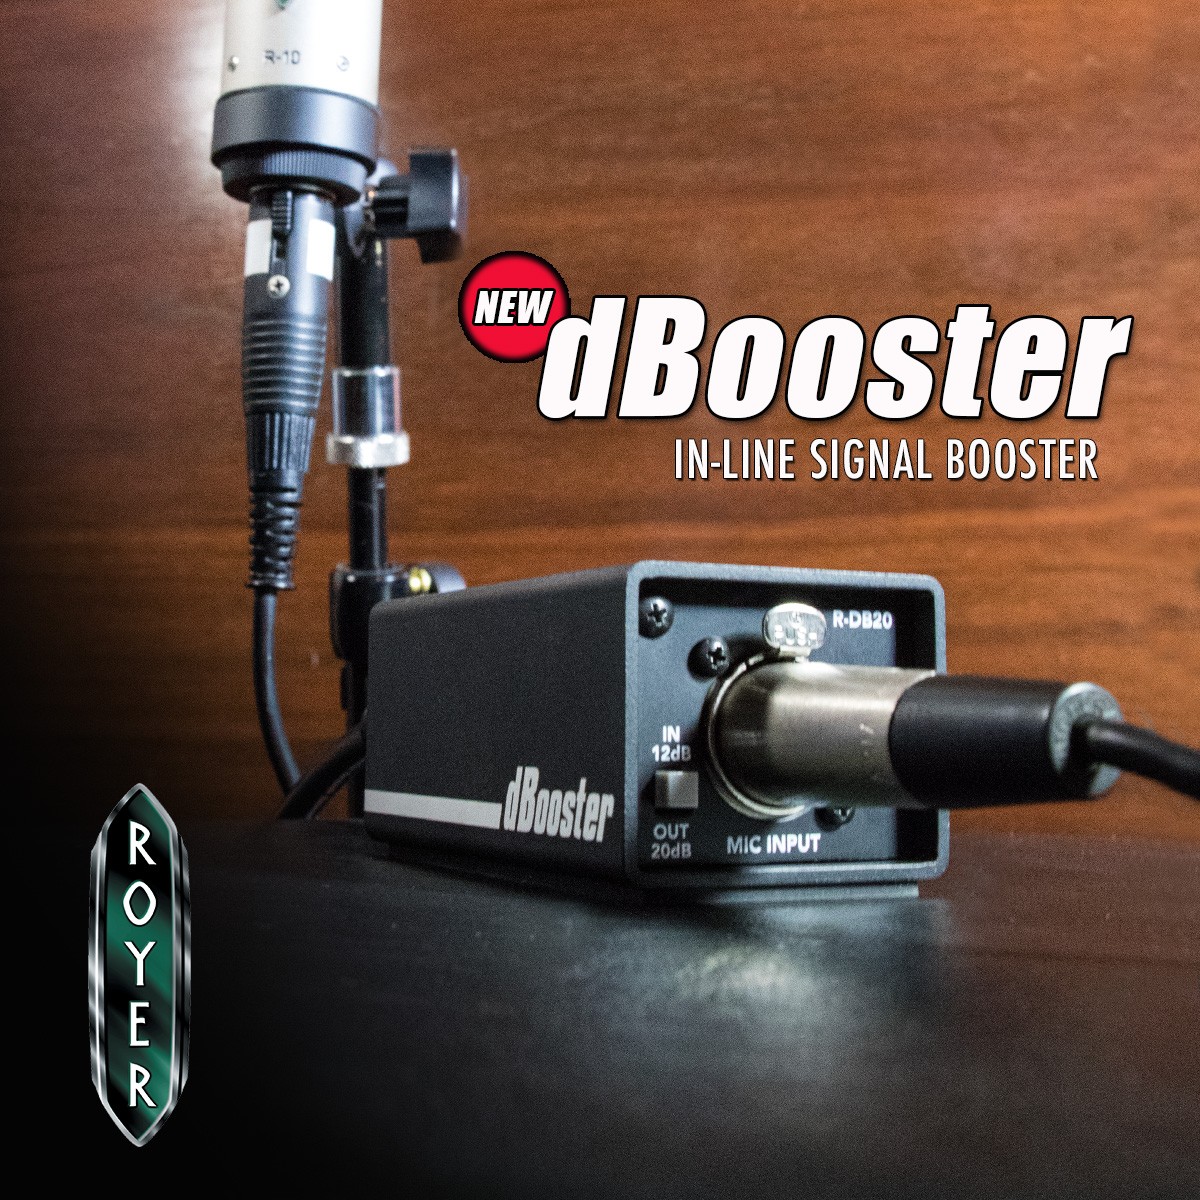
If you love the sound of a particular dynamic or ribbon microphone in combination with a particular mic-pre but can’t get the gain you need, you could consider using a Microphone Signal Booster between mic and mic-pre. Microphone Signal Boosters are active devices that typically offer an extra 10-25db gain. As with the rest of the chain their impedance and signal to noise ratio needs to be good to keep any additional artefacts to a minimum and ideally they should be sonically “transparent” so as not to alter the qualitative sound of the signal chain into which they are introduced. Examples include Royer’s dBooster (+12/+20db) & Cloud’s Cloudlifter CL-1(+25db). One thing to bear in mind though, when using long cable runs where the Booster is powered by in line +48v phantom power, is that this can introduce artefacts to the signal. Shorter cable runs from booster to mic-pre will minimise the issue.
That’s all for Part 1 of this guide. In Part 2 we’ll be looking at mic pre designs and features and their various pros & cons.

